Mono-Black Sacrifice Deck Tech & Sideboard Guide
.jpg)
One of my favorite ways to play Pauper in Magic: The Gathering is by running sacrifice-based decks that turn small creatures into massive value. On my Pauper YouTube channel, I’ve featured this strategy several times, and today I’m diving into a deck I keep coming back to — Mono-Black Sacrifice. It’s a surprisingly affordable and powerful Pauper deck that’s perfect for players who enjoy grindy games, smart sequencing, and making the most out of every creature. Whether you’re new to the format or looking for your next budget-friendly brew, this MTG Pauper Mono-Black Sacrifice deck is one you won’t want to miss.
Table of Contents
Mono-Black Sacrifice Pauper Deck Overview


Mono-Black Sacrifice in Pauper is the kind of deck that turns little creatures into big value. You're not just playing creatures to swing in for damage — you're using them as fuel for something bigger. The whole strategy revolves around finding clever ways to sacrifice your own stuff and get rewarded for it. Whether it's drawing cards, growing a massive threat, or picking off your opponent’s board, every creature death pushes you further ahead. It’s the kind of deck that rewards smart sequencing and decision-making, and if you like grindy games with lots of interactions and tricky plays, you’ll have a blast piloting it.
Best Card Choices for Mono-Black Sacrifice in Pauper
The Creatures
The backbone of this deck is its creature suite. You're running a host of small creatures that either do something useful when they die or help you profit from the act of sacrificing.
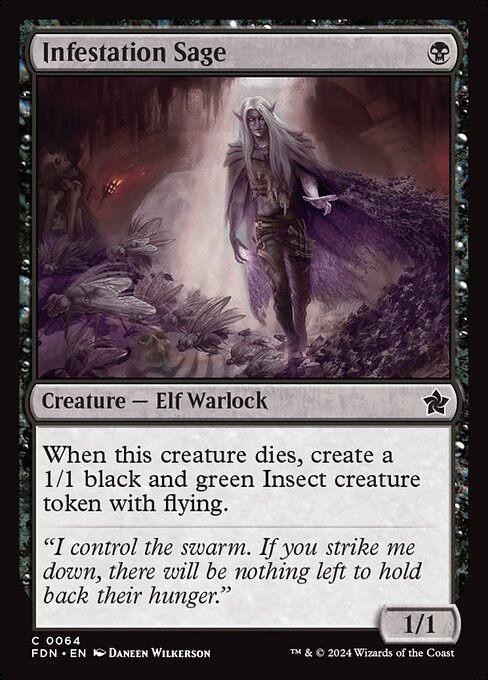
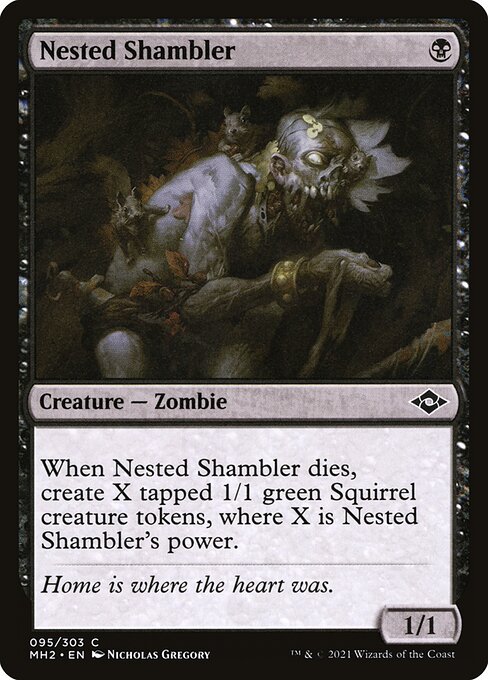
[cards]{{Shambling Ghast}}{{Infestation Sage}}{{Nested Shambler}}[/cards]
[card]Shambling Ghast[/card] is a star here — for one black mana, you get a body that either weakens an opposing creature or ramps you with a Treasure token when it dies. [card]Infestation Sage[/card] gives you a flier when it hits the graveyard, which helps maintain board presence. [card]Nested Shambler[/card] is sneaky good — if you’ve buffed its power even slightly, it can flood the board with Squirrel tokens when it dies. These are your prime sacrifice fodder.
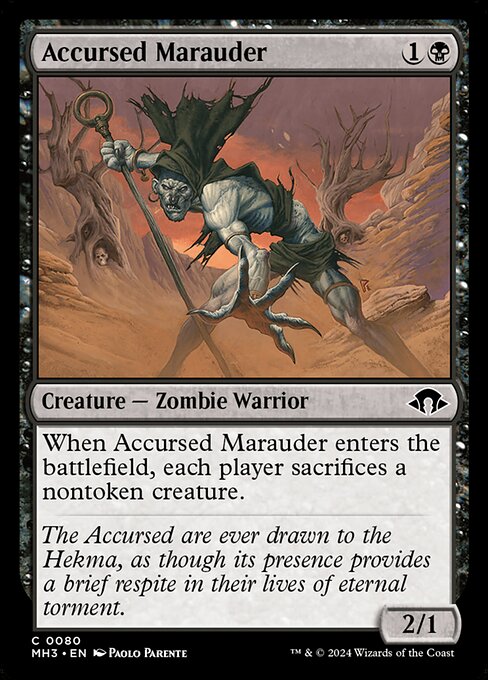
[cards]{{Accursed Marauder}}[/cards]
Then there’s [card]Accursed Marauder[/card], which acts more like a threat and board control in one. When it enters, everyone sacrifices a non-token creature, potentially throwing off your opponent’s game plan, especially if you’ve been setting up a wide board of tokens.
The Sacrifice Package
Now this is where the engine revs up.
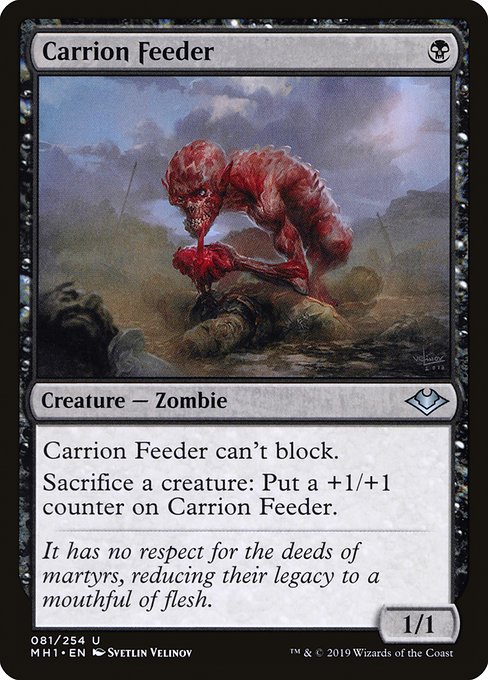
[cards]{{Carrion Feeder}}[/cards]
[card]Carrion Feeder[/card] is a free sacrifice outlet that turns death into size. It can’t block, but it can quickly grow into a serious threat.
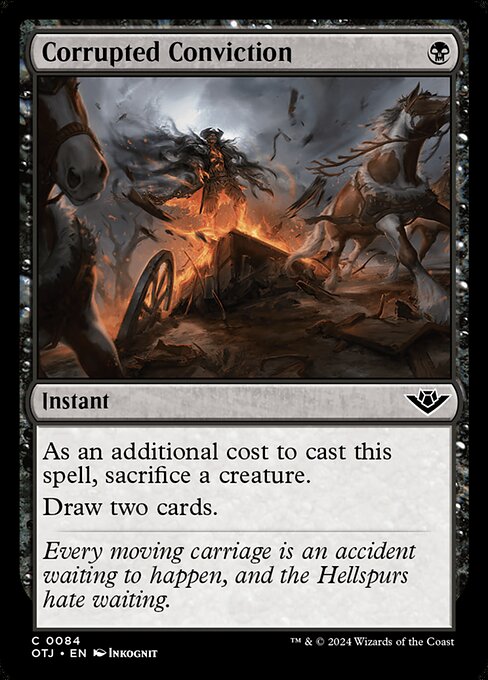
[cards]{{Village Rites}}{{Corrupted Conviction}}{{Fanatical Offering}}[/cards]
You also have the powerful one-mana draw spells like [card]Village Rites[/card] and [card]Corrupted Conviction[/card], which let you cash in a creature for two cards. It feels like cheating when you're sacrificing something that already left value behind.
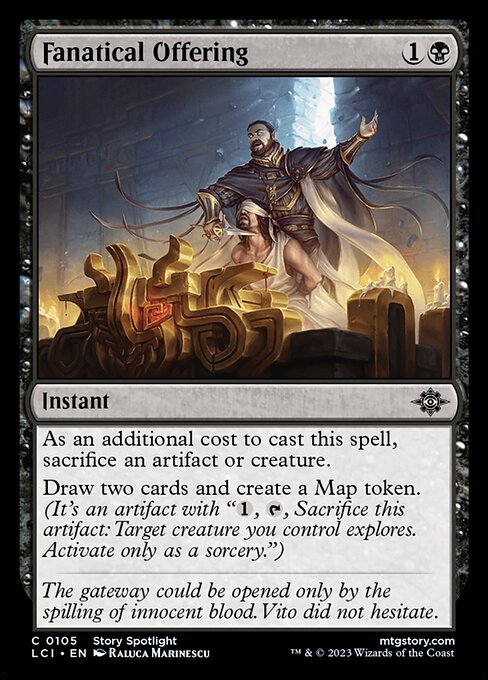
Finally, [card]Fanatical Offering[/card] takes things a step further — it gives you two cards and a token, which keeps your cards flowing and supports future plays.
The Removal
Mono-Black wouldn’t be complete without a little death dealing on the other side.
[cards]{{Snuff Out}}[/cards]
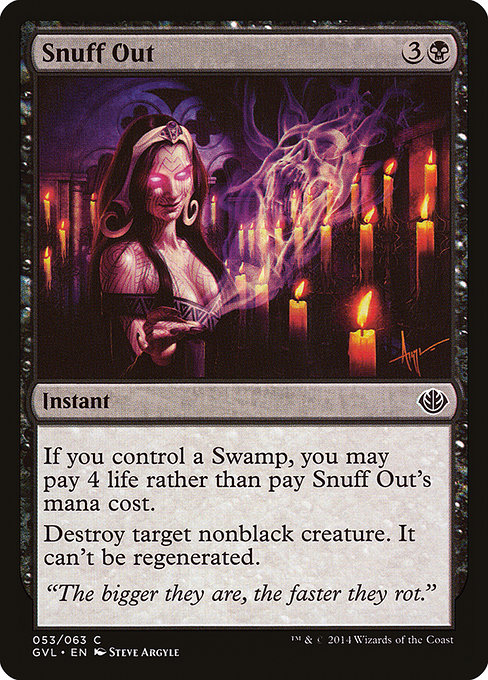
[card]Snuff Out[/card] is your big payoff here. It's free if you control a Swamp and are willing to pay four life, and it can eliminate most creatures in the format without costing you any mana — a massive tempo swing, especially in early turns.
Additionally, creatures like [card]Shambling Ghast[/card] can function as soft removal, giving you -1/-1 on an enemy creature when it dies. It might not kill everything, but it can clear a blocker or soften a threat.
Recursion and Resilience
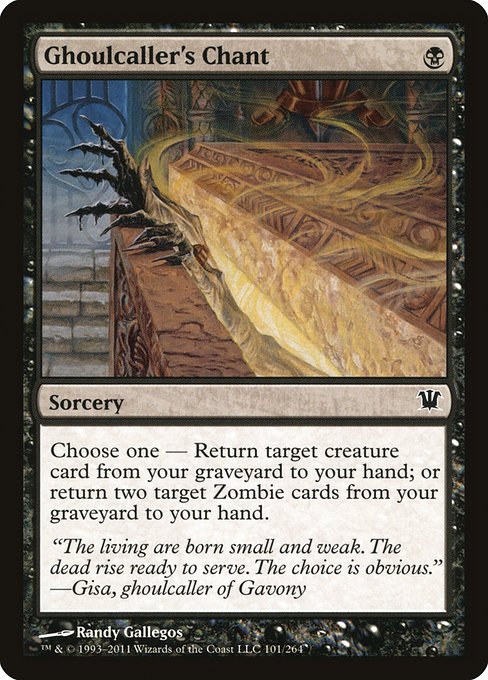
[cards]{{Ghoulcaller’s Chant}}[/cards]
You’ve got [card]Ghoulcaller’s Chant[/card], which keeps your engine running after the first wave. Whether you’re grabbing one big creature or two Zombies (which you’ve got plenty of), it helps make sure you're never out of gas. Recursion like this is key in grindy matchups where both players are trading resources.
The Win Condition
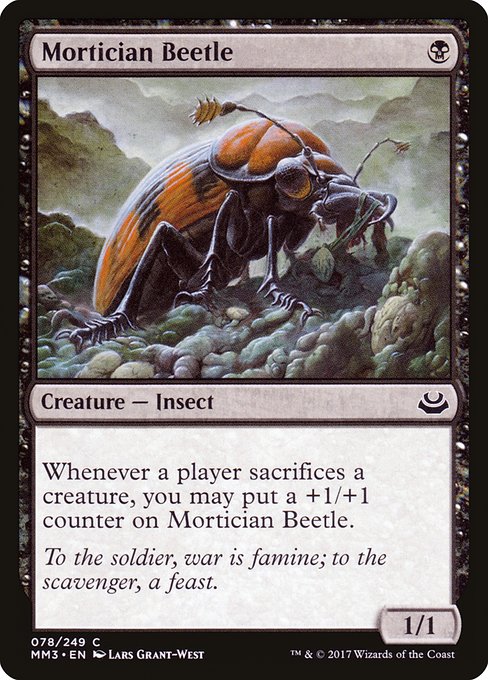
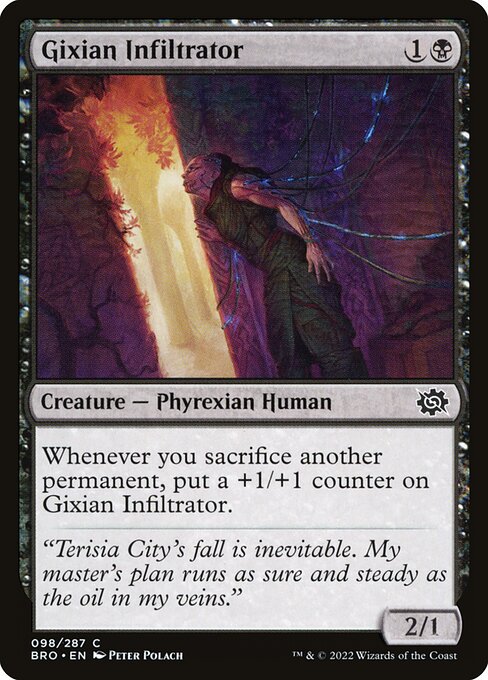
Mono-Black Sacrifice doesn’t aim to win with some big bomb — instead, it turns consistent value into overwhelming board presence. The primary win conditions are your scalable threats: [card]Gixian Infiltrator[/card] and [card]Mortician Beetle[/card].
[cards]{{Gixian Infiltrator}}{{Mortician Beetle}}[/cards]
[card]Gixian Infiltrator[/card] shines because it grows with every sacrifice you make — and this deck sacrifices things constantly. A few Treasure tokens here, a dead [card]Shambling Ghast[/card] there, and suddenly you’ve got a 5/5 ready to end the game. [card]Mortician Beetle[/card] is similar but triggers off any player sacrificing creatures, so it often grows even faster in grindy matchups. Drop one early and just keep playing your game — it will handle the rest.
Together, these two creatures turn your sacrifice plan into a lethal clock. With them on the field, every minor play — drawing cards, making mana, clearing blockers — becomes a direct path to victory.
That said, while not always the primary win con, your deck can go wide thanks to cards like [card]Nested Shambler[/card], [card]Infestation Sage[/card], and Treasure generation from [card]Shambling Ghast[/card]. These tiny bodies add up fast, and they give you material to feed your draw spells or grow your payoff creatures. When you’re playing against a deck with weak board wipes or limited interaction, going wide is often your clearest path to victory.
Optimizing Your Mono-Black Sacrifice Sideboard
Your sideboard is how you get ready for all the different decks you might face in Pauper. Mono-Black Sacrifice is strong, but sometimes you’ll need extra help against things like fast red decks, graveyard combos, or slow control builds. That’s where the sideboard comes in. It gives you the tools to deal with tricky matchups and improve your chances after game one. Let’s go over some of the best cards to bring in and when to use them.
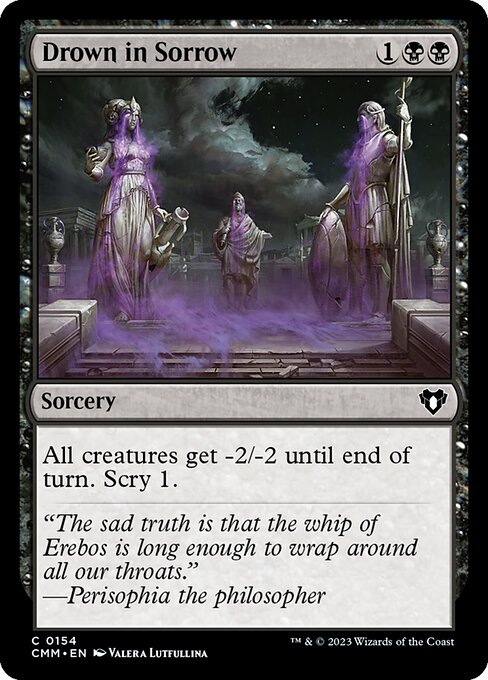
[cards]{{Drown in Sorrow}}[/cards]
This card is a powerhouse against go-wide aggro strategies like Mono-Red Synthesizer, Mono-White Aggro, or Tokens. Giving all creatures -2/-2 for three mana can completely reset the board if your opponent is relying on small creatures, especially those with 1 or 2 toughness. The added bonus of scrying 1 helps you set up your next turn, making it useful even in slower control matchups. It’s a bit slower than something like [card]Echoing Decay[/card], but it hits wider and can swing the game back in your favor when you're behind on board.
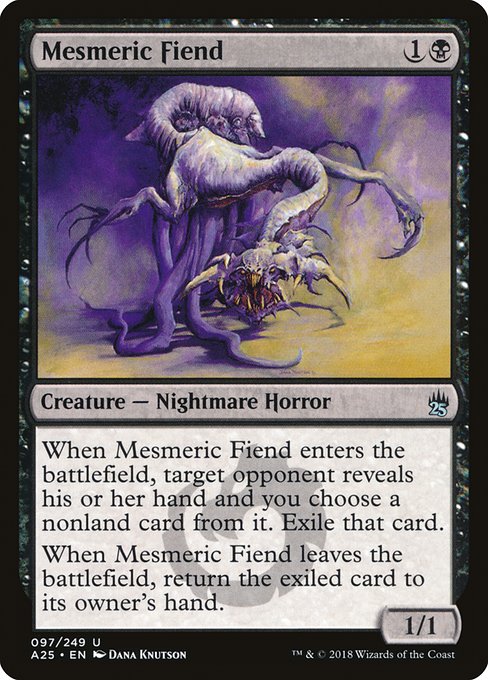
[cards]{{Mesmeric Fiend}}[/cards]
This is your go-to hand disruption option when you need early interaction against combo decks, control builds, or anything holding a crucial piece you can’t afford to let resolve. Unlike a one-shot discard spell, [card]Mesmeric Fiend[/card] sticks around and creates awkward decisions for your opponent, forcing them to waste removal or accept being down a card. It’s especially good in matchups like Familiars or Tron where timing and resource denial are everything.
[cards]{{Rotten Reunion}}[/cards]
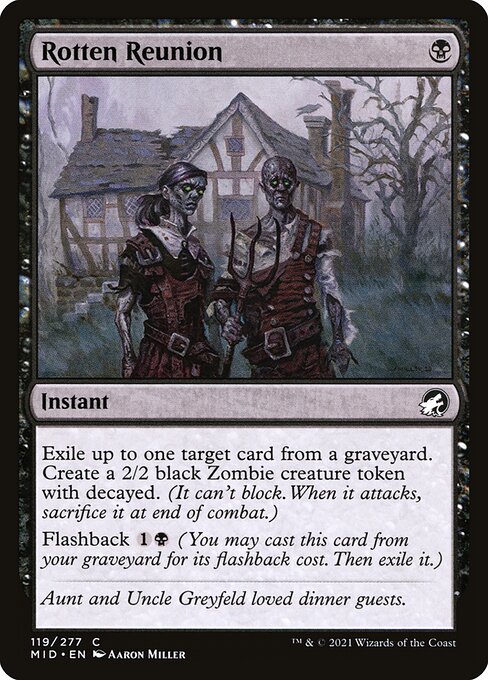
Graveyard hate that fits seamlessly into sacrifice decks? Yes, please. [card]Rotten Reunion[/card] gives you an instant-speed answer to reanimation tricks or graveyard synergy decks like Jeskai Ephemerate or Jund Dredge while also giving you a body to work with. The Zombie token having decayed makes it temporary, but it can still chip in damage or fuel cards like [card]Fanatical Offering[/card]. Plus, with flashback, you get to use it twice — that’s a lot of value from a one-mana spell.
[cards]{{Snuff Out}}[/cards]
One of the best black removal spells in Pauper, [card]Snuff Out[/card], belongs in your sideboard when you're worried about speed. It answers basically anything nonblack for zero mana if you’re willing to pay four life, which is often a fair trade in the face of an early [card]Tolarian Terror[/card].
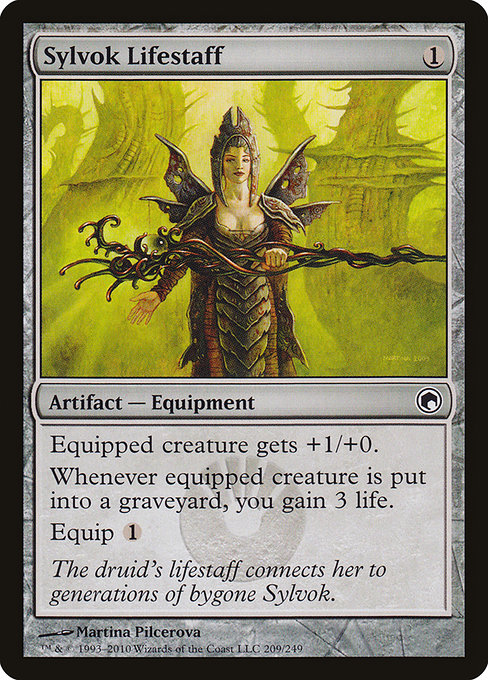
[cards]{{Sylvok Lifestaff}}[/cards]
An absolute staple against Burn and other fast red decks. [card]Sylvok Lifestaff[/card] can gain you 9, 12, or even more life if timed after continuous sacrifice effects, often undoing an entire turn or two of damage. Even when you’re not doing anything fancy, it buys crucial time in matchups where every point of life matters.
Tips and Tricks for Playing Mono-Black Sacrifice in Pauper
Always think ahead about what you’re willing to sacrifice — the deck is full of creatures that want to die, but timing matters. Sometimes it’s better to hold off on using [card]Village Rites[/card] or [card]Fanatical Offering[/card] until you can get the most value, especially if your creature has a death trigger or is making multiple tokens like [card]Nested Shambler[/card] or [card]Infestation Sage[/card].
Know when to go tall vs. wide — against decks without many spot removals or blockers, growing a single threat like [card]Carrion Feeder[/card] or [card]Gixian Infiltrator[/card] can close the game quickly. But if your opponent doesn’t have sweepers, flooding the board with tokens from [card]Nested Shambler[/card], [card]Infestation Sage[/card], or [card]Rotten Reunion[/card] can win through sheer numbers.
Use sacrifice as a way to dodge removal — if your opponent tries to remove one of your creatures, you can respond by sacrificing it to [card]Carrion Feeder[/card] or a draw spell. That way, you still get value instead of losing the creature for nothing. This makes it harder for opponents to get clean trades.
Use [card]Mesmeric Fiend[/card] with sacrifice outlets for permanent hand disruption — when [card]Mesmeric Fiend[/card] enters the battlefield, it exiles a nonland card from your opponent’s hand. But if you sacrifice it in response to its enter-the-battlefield trigger resolving, the “leave the battlefield” trigger happens before the card is exiled — meaning your opponent’s card gets exiled forever. This interaction is great when you have [card]Carrion Feeder[/card] or a draw spell like [card]Village Rites[/card] ready to go. It’s a sneaky way to lock away a key piece of their strategy for good.
Mono-Black Sacrifice Pauper Sideboard Guide
The following are suggestions on how to approach games with the deck, though they clearly reflect my own preferences based on my personal experience with the deck, so you’ll notice some different recommendations here than what you might be used to.
Mono Red Aggro
IN: 2 [card]Drown in Sorrow[/card], 3 [card]Sylvok Lifestaff[/card]
OUT: 2 [card]Snuff Out[/card], 3 [card]Gixian Infiltrator[/card]
Against Mono Red, the plan is to survive the early burn and stabilize before they run out of gas. [card]Drown in Sorrow[/card] wipes away their early creatures, while the scry helps you find your key pieces. [card]Sylvok Lifestaff[/card] is backbreaking here — one well-timed chain of sacrifice can undo a full turn or more of burn damage. You're taking out [card]Snuff Out[/card] because paying four life is way too risky against an aggressive red deck. [card]Gixian Infiltrator[/card] also gets the axe because it’s too slow and does nothing to help stabilize the board or gain life.
Grixis Affinity
IN: 2 [card]Mesmeric Fiend[/card]
OUT: 2[card]Snuff Out[/card]
Affinity’s suffered from [card]Deadly Dispute[/card] ban, and as such, keeping them out of resources and key spells with [card]Mesmeric Fiend[/card] is key.
Dimir Faeries
IN: 2 [card]Snuff Out[/card], 1 [card]Drown in Sorrow[/card]
OUT: 3 [card]Gixian Infiltrator[/card]
This matchup is all about tempo — Faeries wants to chip you down with fliers while protecting their board with counterspells and bounce. [card]Snuff Out[/card] is perfect here because it lets you kill [card]Spellstutter Sprite[/card] or [card]Ninja of the Deep Hours[/card] for zero mana, letting you fight through their counter magic. [card]Drown in Sorrow[/card] helps clean up their board after they overcommit, especially if they don’t expect a sweeper.
Dimir Terror
IN: 4 [card]Mesmeric Fiend[/card], 2 [card]Snuff Out[/card]
OUT: 2 [card]Ghoulcaller's Chant[/card], 3 [card]Gixian Infiltrator[/card], 1 Swamp
Dimir Terror revolves around cheap interaction and big creatures like [card]Tolarian Terror[/card] and [card]Cryptic Serpent[/card]. [card]Mesmeric Fiend[/card] helps strip away removal or threats before they resolve, and it dodges counterplay if paired with a sacrifice outlet. [card]Snuff Out[/card] shines here — taking out a huge creature for free helps you keep up in tempo-heavy games.
Video Gameplay
As I’ve mentioned, I’ve covered the deck a couple of times on my YT Channel, and here is a video you can look at to understand the play patterns of the deck!
Wrap Up
Thanks for reading — and if you’ve got your own builds, tricks, or matchups you’ve faced, feel free to share them in the comments!
If you’d like to support the blog and my YouTube channel, you can do so for just $1 a month on Ko-fi or through YouTube memberships. That gets you access to our Discord community and behind-the-scenes content — and it helps me keep creating more Pauper content for you all.
My Favorite Pauper Setup
Here are some of my favorite MTG products for Pauper—stuff I’ve tried, loved, and think you'll find super useful too.


The Amazon links use affiliate codes that help support future content if you grab something.
.jpg)

.jpg)

.png)
.webp)
.webp)
.jpg)
.png)
Comments
Post a Comment