Rakdos Madness Pauper Deck Tech & Sideboard Guide

Burn strategies are among the most popular strategies in Magic: The Gathering formats, including Pauper, and while the deck itself is probably the Best in the meta, there’s also another red deck that excels at trimming down your opponent's life totals fast: Rakdos Madness.
Today, I will go over each of the car choices to the deck and dive a bit into the deck's history.
Table of Contents
Rakdos Madness Pauper Deck Overview


Rakdos Madness in Pauper is a Burn deck that trades speed for card advantage and a little bit of life gain, two critical pieces that aggressive decks often lack in the current metagame. Of course, this deck is built around the Madness keyword, and as such, cards like [card]Fiery Temper[/card] and [card]Alms of the Vein[/card] are the bread and butter of the game.
Before diving too much into technicalities, I would like to cover a little bit of background on the deck's evolution thanks to new cards introduced in recent sets that benefit this Pauper archetype.
Madness History in MTG Pauper
[cards]{{Bump in the Night}}{{Tyrant's Choice}}[/cards]
Previously, Burn decks in Pauper were mostly just traditional Burn or what became known as Mono-Black Burn, thanks to cards like [card]Bump in the Night[/card] and [card]Tyrant's Choice[/card].
[cards]{{Basking Rootwalla}}{{Wild Mongrel}}[/cards]
However, recent sets have introduced more efficient ways to use somewhat forgotten cards like [card]Fiery Temper[/card], which has helped the archetype gain popularity. Don’t get me wrong—Madness decks have always existed in Pauper, but they were usually paired with green, featuring cards like [card]Basking Rootwalla[/card] and [card]Wild Mongrel[/card].
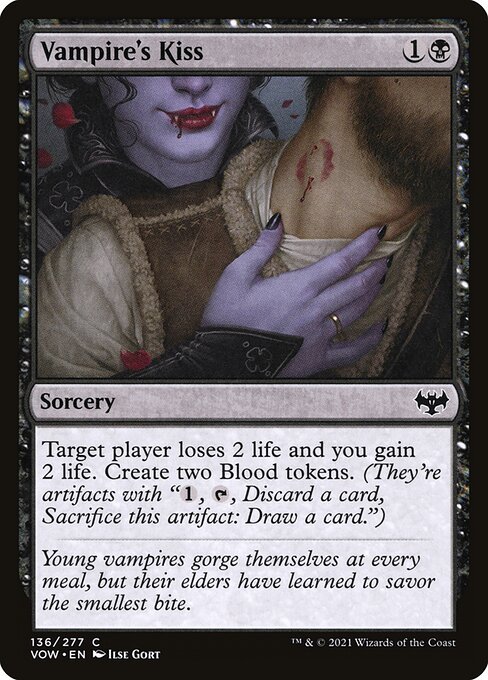
[cards]{{Voldaren Epicure}}{{Vampire's Kiss}}[/cards]
That changed with the introduction of blood tokens in Innistrad: Crimson Vow. Cards like [card]Voldaren Epicure[/card] and [card]Vampire's Kiss[/card] started to be seen as potential enablers for new versions of the deck and with the addition of black, players also gained access to other Madness payoffs, such as [card]Alms of the Vein[/card] and [card]Kitchen Imp[/card].
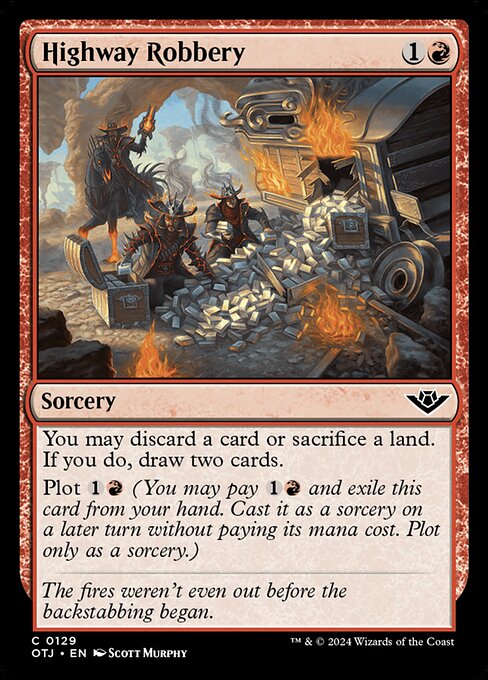
[cards]{{Highway Robbery}}{{Grab the Prize}}[/cards]
Notably, every other new Standard set has introduced different variations of [card]Thrill of Possibility[/card]-style effects, with [card]Highway Robbery[/card] and [card]Grab the Prize[/card] providing even better options for players testing a Rakdos Madness shell.
[cards]{{ Sneaky Snacker}}[/cards]
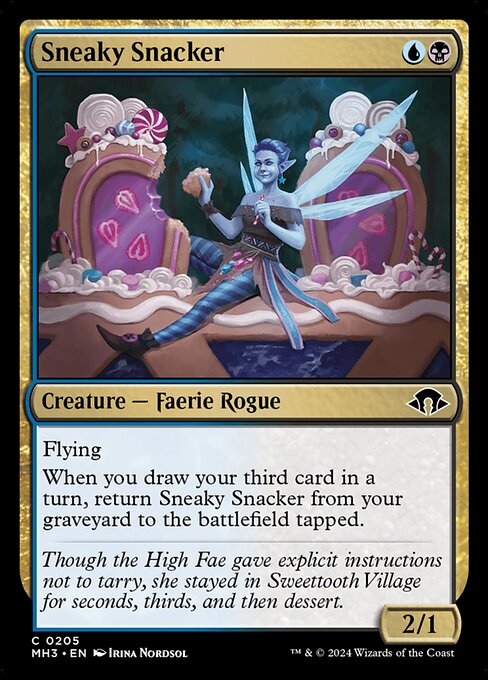
What really put the cherry on top was the introduction of [card]Sneaky Snacker[/card], a creature that fits perfectly in a deck focused on consistently drawing cards. Since it can return itself from the graveyard to the battlefield after being discarded, it effectively plays for free, making the deck even more consistent.
[cards]{{ Careful Study}}{{ The Modern Age}}[/cards]
Of course, other variations of the deck exist, featuring cards like [card]Careful Study[/card] and [card]The Modern Age[/card], but the most consistent version so far has been Rakdos Madness.

Now, to get a better idea of how the deck plays, let’s dive into each card and break down its overall game plan.
Best Card Choices for Rakdos Madness in Pauper
The Creatures
[cards]{{Voldaren Epicure}}[/cards]
As I mentioned earlier, [card]Voldaren Epicure[/card] has become a pivotal card in Madness decks—not just because it’s an early creature that deals damage to opponents when it enters the battlefield, but also because it creates a Blood token. These tokens allow you to spend one mana to sacrifice them and loot away a card from your hand. This “free” looting tool is perfect for gaining card advantage with Madness spells at instant speed.
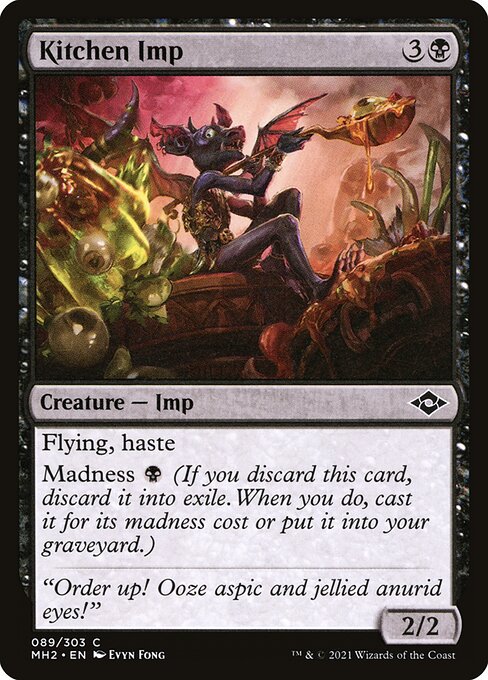
[cards]{{Sneaky Snacker}}{{Kitchen Imp}}[/cards]
[card]Sneaky Snacker[/card] and [card]Kitchen Imp[/card] are among the best creatures that benefit from this looting. With the right setup, they become critical pieces for pressuring your opponent’s life total while keeping your hand full.
This is what sets the deck apart from other aggressive strategies. While most aggro decks trade spells or creatures for damage, Madness decks essentially “replace” them with extra cards thanks to incidental looting. Think about it—a regular cast of [card]Faithless Looting[/card] usually puts you behind a card. But when paired with Madness spells like [card]Kitchen Imp[/card] or [card]Sneaky Snacker[/card], you’re effectively drawing two new cards, almost like casting a one-mana Divination, while also putting threats on the board. This ability to maintain resources is crucial, as you’ll almost always have more tools to pressure your opponent.
When I play against Burn, I usually check how many cards they have left in hand to gauge whether I’m close to stabilizing with my next plays and whatever lifegain my deck has. Against Madness Burn, though, I almost always see my opponent with a nearly full hand—which means they won’t be running out of resources anytime soon. This forces me to be extra cautious with my life total.
With that little commercial over, let’s move on to the most important spells in the deck—the enablers.
Madness Enablers
[cards]{{Faithless Looting}}[/cards]
Discard spells are crucial for maximizing the value that Madness offers, and among them, [card]Faithless Looting[/card] is by far the best. Not only does it let you discard cards for just one mana, but it also has flashback, allowing you to use it again later. With the right Madness spells, this card can actually put you up two cards instead of just one when you cast it for its flashback cost, since you’re not spending a card from your hand to cast it.
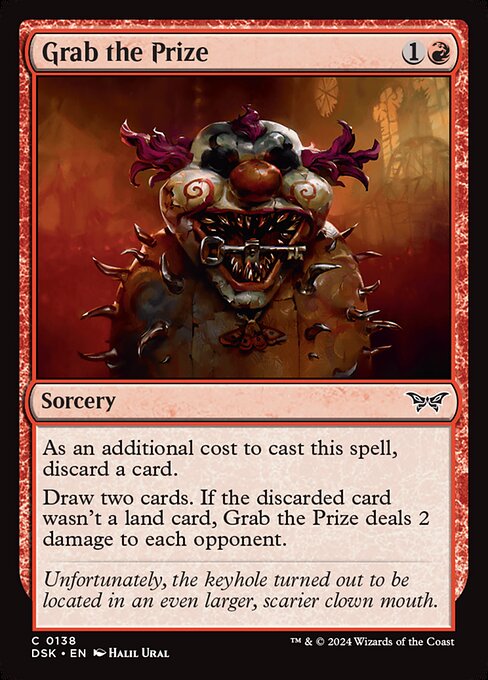
[cards]{{Grab the Prize}}{{Highway Robbery}}[/cards]
[card]Grab the Prize[/card] is probably the second-best discard spell, thanks to the incidental damage it deals when you discard non-land cards. Meanwhile, [card]Highway Robbery[/card] shines in tight mana situations, letting you cast your spells more efficiently.
The Madness Payoffs
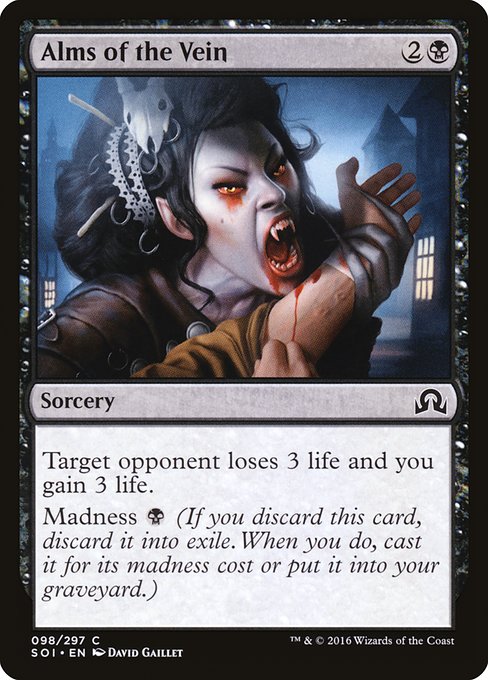
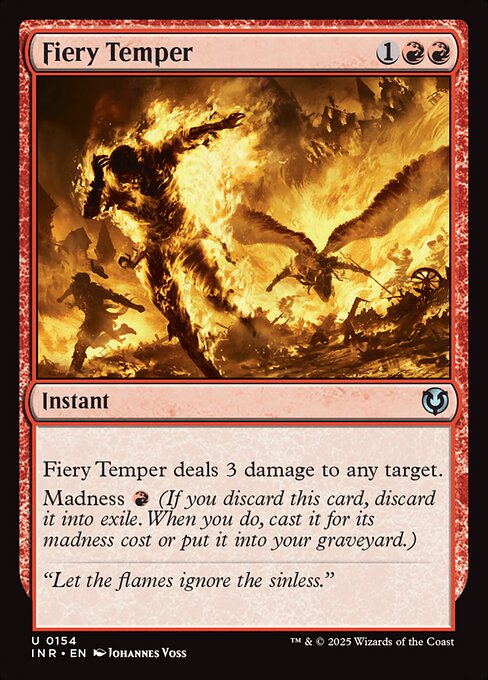
[cards]{{Kitchen Imp}}{{Alms of the Vein}}{{Fiery Temper}}[/cards]
When it comes to payoffs for Rakdos Madness, [card]Kitchen Imp[/card] is a standout—a 2/2 flier with haste for just one black mana? Yes, please! If you discard it, you get an efficient evasive threat that starts swinging immediately.
Paired with [card]Sneaky Snacker[/card], these creatures create a constant, recursive source of damage in the air, making it tough for opponents to stabilize.
Beyond creatures, we also have powerful Madness spells like [card]Alms of the Vein[/card] and [card]Fiery Temper[/card].
[card]Alms of the Vein[/card] helps you race aggressive decks while keeping your life total stable. Plus, since it can be cast at instant speed, it’s a great combat trick.
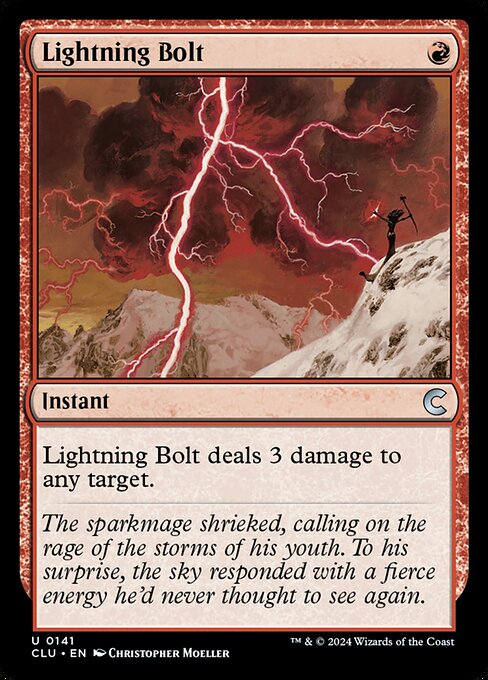
[card]Fiery Temper[/card], on the other hand, is the classic "Madness Bolt"—normally three mana, but if discarded, you get a full [card]Lightning Bolt[/card] for just one red. It’s removal, burn, and efficiency all in one.
And speaking of power cards, this deck wouldn’t be complete without the OGs we’re about to break down next!
The Removal
[cards]{{Lightning Bolt}}{{Chain Lightning}}[/cards]
A true burn deck wouldn’t be complete without [card]Lightning Bolt[/card], arguably the best one-mana red spell ever printed, followed by its sorcery-speed counterpart, [card]Chain Lightning[/card]. Both serve to deal damage efficiently and help close out games.
The Mana Base
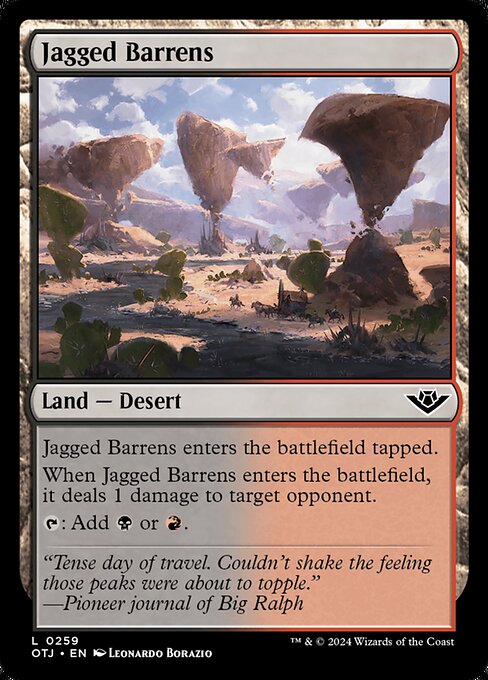
[cards]{{Rakdos Carnarium}}{{Jagged Barrens}}[/cards]
Dual-colored decks usually don’t have trouble fixing their mana, and unlike other versions of the deck that rely on artifact lands to enable payoffs like [card]Goblin Tomb Raider[/card], this one doesn’t. This means you not only avoid the indirect artifact hate from cards like [card]Gorilla Shaman[/card], but you also gain access to utility lands. For example, [card]Rakdos Carnarium[/card] can bounce lands like [card]Bojuka Bog[/card] to repeatedly exile graveyards or [card]Jagged Barrens[/card] to consistently chip away at your opponent’s life total.
Optimizing Your Rakdos Madness Sideboard
As is the case with each sideboard, it should be adapted to handle popular meta-threats in your current environment. This sideboard packs answers for graveyards, artifacts, go-wide decks, and control. It keeps you flexible against Pauper’s top threats. Let’s break it down!
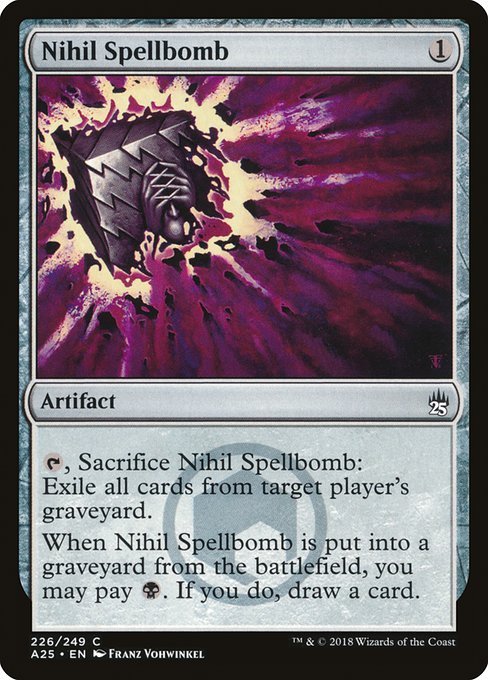
[cards]{{Nihil Spellbomb}}[/cards]
Graveyard hate is crucial in Pauper, especially against decks that rely on recursion, like Reanimator or Madness. [card]Nihil Spellbomb[/card] is great because it exiles a player’s entire graveyard while also letting you draw a card if you have black mana available. It’s a cheap, flexible option that doesn’t slow you down.
[cards]{{Cast into the Fire}}[/cards]
[card]Cast into the Fire[/card] is a fantastic two-in-one removal spell. It can exile an artifact (which is huge against Affinity decks) or deal 1 damage to two creatures, making it a solid choice against go-wide strategies like Elves and Faeries. The flexibility makes it a great sideboard card.
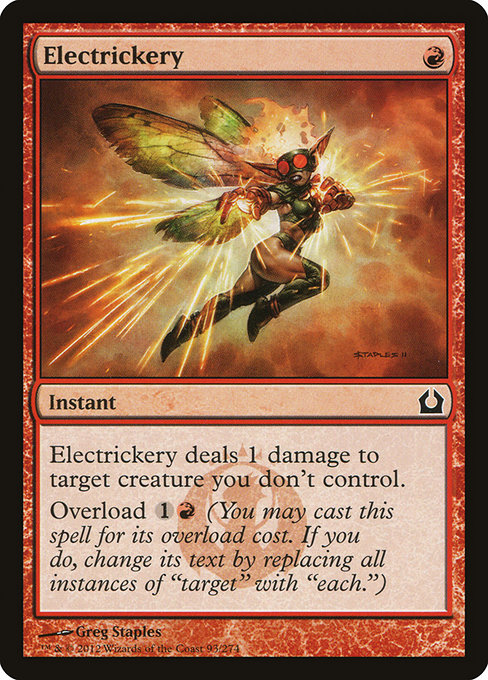
[cards]{{Electrickery}}[/cards]
[card]Electrickery[/card] is a classic anti-token and anti-swarm card. Against decks that flood the board with 1-toughness creatures—like Faeries, Elves, or Boros Bully—Electrickery in overload mode can wipe them all out in one shot.
[cards]{{Trespasser's Curse}}[/cards]
This card shines against go-wide decks like Elves and Boros Bully, punishing them for playing creatures by draining their life. It’s not an auto-include in every meta, but against decks that rely on spamming creatures, it can make a real difference by slowing them down while keeping you alive.
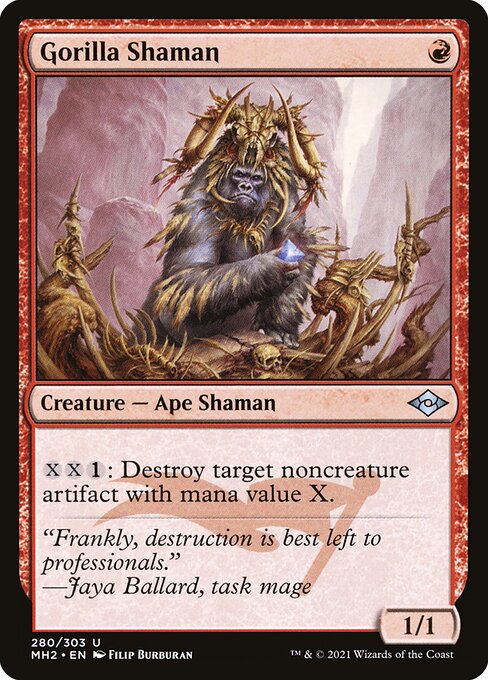
[cards]{{Gorilla Shaman}}[/cards]
Arguably, [card]Gorilla Shaman[/card] is one of the best anti-artifact creatures in Pauper. Despite its drop on usage rate thanks to indestructible bridges, It can completely wreck regular artifact lands and artifact tokens by repeatedly destroying them for cheap.
[cards]{{Duress}}[/cards]
[card]Duress[/card] is perfect for stripping control decks of their counterspells, getting rid of key removal, or even disrupting combo decks like Moggwarts before they go off. It won’t hit creatures, but against spell-heavy decks like Jeskai Ephemerate or Tron, it’s an all-star.
Overall, this sideboard looks well-rounded, giving you tools to handle graveyards, artifacts, wide creature strategies, and spell-heavy decks. If you’re expecting a lot of Affinity, Faeries, or Elves in your local meta, this setup seems well-prepared!
Rakdos Madness Pauper Sideboard Guide
The following are suggestions on how to approach games with the deck, though they clearly reflect my own preferences based on my personal experience with the deck, so you’ll notice some different recommendations here than what you might be used to.
Grixis Affinity
IN: 2 [card]Gorilla Shaman[/card], 4 [card]Cast into the Fire[/card]
OUT: 1 [card]Grab the Prize[/card], 4 [card]Chain Lightning[/card], 1 [card]Highway Robbery[/card]
Affinity thrives on its artifact lands, so the plan is simple: attack their mana base. [card]Cast into the Fire[/card] takes out Bridges, while [card]Gorilla Shaman[/card] eats up their other artifacts.
Keep in mind that Grixis Affinity runs countermagic, so there’s an argument for bringing in [card]Duress[/card] to strip away counterspells or high-impact noncreature spells. If you can bait a counterspell early, your Gorilla Shaman can resolve and wreak havoc against Mirrodin Lands and stray artifact tokens.
Jund Wildfire
IN: 2 [card]Duress[/card]
OUT: 2 [card]Chain Lightning[/card]
Against Jund Wildfire is all about getting rid of their [card]Weather the Storm[/card] before you start burning them. [card]Chain Lightning[/card] is not dead, but your weakest land as a whole.
Dimir Terror
IN: 2 [card]Nihil Spellbomb[/card]
OUT: 2 [card]Chain Lightning[/card]
Slowing Dimir Terror down is the goal. [card]Nihil Spellbomb[/card] disrupts their graveyard plan, making it harder to power out an early [card]Tolarian Terror[/card] or [card]Gurmag Angler[/card].
A key advantage in this matchup? Your flyers dodge [card]Snuff Out[/card], meaning once they resolve, they’re much harder to deal with.
Be patient—loot away bait spells at the end of their turn so you can untap and apply more pressure while their defenses are down.
Dimir Faeries
IN: 3 [card]Chain Lightning[/card]
OUT: 2 [card]Electrickery[/card], 1 [card]Cast into the Fire[/card]
Faeries play at instant speed, so extra burn spells help keep them in check. However, your flyers naturally have the edge, as they are bigger and recursive compared to Faeries' smaller threats.
More importantly, a Madness-fueled [card]Kitchen Imp[/card] can often bypass Spellstutter Sprite’s counter ability—if they don’t have enough Faeries in play, it resolves for free. This puts them on the defensive quickly, forcing them to spend resources inefficiently.
Wrap Up
Rakdos Madness is an explosive and resilient deck that thrives on aggression and efficiency. While it has some weaknesses, its ability to apply constant pressure, generate value through discard, and adapt post-sideboard makes it a strong contender in the current Pauper meta. If you’re looking for a fast, hard-hitting deck that turns discard into an advantage, Rakdos Madness is a fantastic choice!
If you’d like to support the blog and my YouTube channel, you can do so for just $1 a month on Ko-fi or through YouTube memberships. That gets you access to our Discord community and behind-the-scenes content — and it helps me keep creating more Pauper content for you all.
My Favorite Pauper Setup
Here are some of my favorite MTG products for Pauper—stuff I’ve tried, loved, and think you'll find super useful too.


The Amazon links use affiliate codes that help support future content if you grab something.
.jpg)
.jpg)

.png)
.webp)
.webp)
.jpg)
.jpg)
.png)
Comments
Post a Comment